
Creating bash commands and aliases
Streamline your workflow with custom terminal commands
tl;dr: Custom bash commands are keywords that you can explicitly define to either execute a new function or shorten an existing command. These commands are extremely versatile and customizable, allowing you to tailor them to increase your productivity. Once they are defined in your .bash_profile document, you will be able to call on them in any new terminal session.
As a young programmer, interacting with my computer through the terminal (or bash) can still sometimes feel foreign and clunky. I am in my fifth week at Flatiron School’s Software Engineering program, and we work through a lot of labs as part of the curriculum. In order to work on each lab, I would have to follow a series of steps just to open it:
- Fork it from the Github page
- Clone it into a local directory
- Navigate into the lab folder
- Bundle install the proper Ruby gems (for Ruby/ Ruby on Rails labs)
- Open the project in my text editor
Five steps just to get the lab open on my computer! After a while, I realized that there had to be a better way. As it turns out, this all can be streamlined into one easy step. Enter custom bash commands.
In this article I will walk through creating custom bash commands in Unix-based operating systems (Mac OS and Linux). These are custom commands you can input in your bash/terminal that either shorten an existing command or execute a pre-defined series. Some examples of what you can accomplish are:
- Easily navigate into a directory with a long file path
- Git add, commit, push, and merge with one command.
- Easily bundle install, migrate, and seed a newly opened project.
- Download a mp3 version of a youtube video from your terminal.
- Whatever else you can think of!
Creating the custom commands
Adding custom commands can be done in just 4 easy steps:
1. Open your bash profile document
Each time you open a new terminal session, it loads up your preferences from a hidden document. Files related to the terminal are typically hidden, or invisible. These files have a . at the beginning of their name, don’t show up in finder searches, and are usually stored in the root directory. For our purposes we only need to know how to view, open, and create these files, but for more information see the further reading below1. In order to view these files, enter the following commands in your terminal:
$ cd ~
$ ls -a
The first command navigates to the root directory (if not already there), and the second prints out all of the files saved there. You should see a file named .bash_profile. Go ahead and open that in any text editor. Now, you could add your custom commands anywhere in this document, but in the spirit of readable code we will want to create a new document with all of our new commands, and simply link to that document in our bash profile.
2. Create a custom commands file
To create a new invisible file, enter the following command in your terminal:
$ touch ~/.custom_bash_commands.sh
Open this up in your preferred text editor, and add the following code:
#!/bin/bash

# greet the user
function greet() {
 	 echo ‘Hello’ $1‘!’
}
The first line is a convention used when writing shell scripts to clarify the appropriate interpreter. # is used for writing comments, and it is good form to write a description of what your command will do.
Once you have saved that file, we need to test if it works. To make this command available, enter the following:
$ source ~/.my_custom_commands.sh
Now try out the new command:
$ greet Shane
You should see Hello Shane! (or whatever name you give as an argument), printed out. Congrats! You have just made your first custom bash command. However, using the above would require you to run the source command every time you opened a new terminal. If we link to this file in our bash profile, our new commands will come pre-loaded in every new terminal session.
3. Link to the file in your bash profile
Back in your .bash_profile document, add the same command we ran earlier, source ~/.my_custom_commands.sh, anywhere you would like. This will simply run that source command, linking to your custom commands, every time you open a new terminal. To access these commands, you can either run source ~/.bash_profile or close your terminal and open up a new session.
4. Write your custom commands!
There are two ways to create a custom command: aliases and functions. An alias usually shortens an existing command, while a function can chain multiple commands together.
Alias:
alias gcl="git clone”
Function:
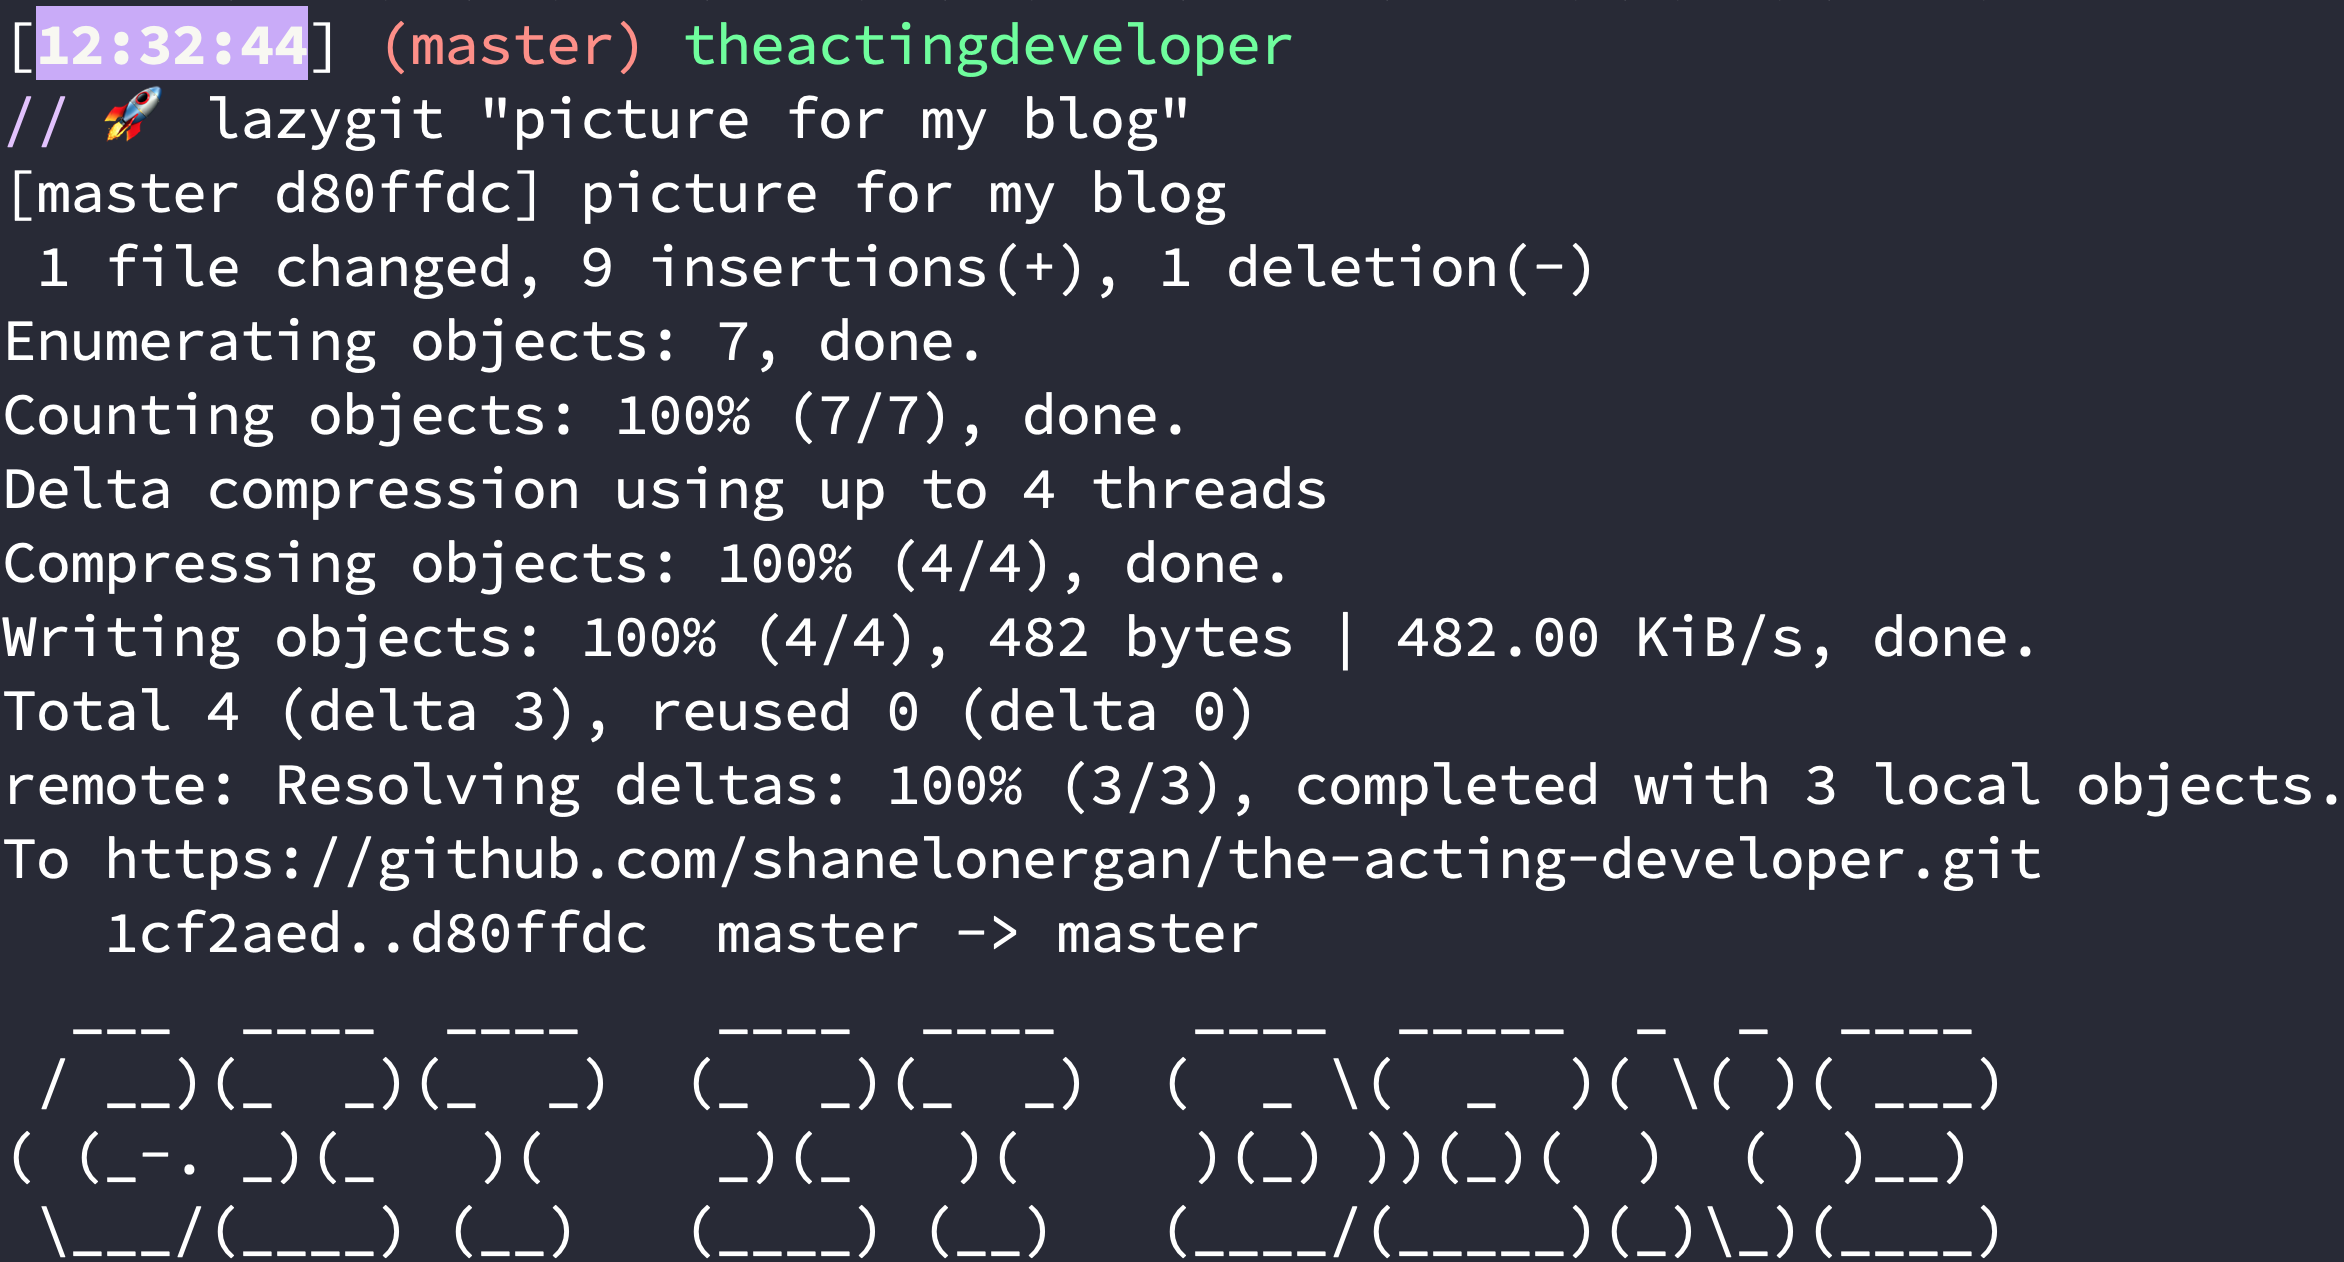
function lazygit() {
		git add .
		git commit -m "$1"
		git push origin master
}
If you are passing any arguments into the function, the first parameter will be stored in $1. For multiple parameters, they will be stored in $2, $3, and so on.
You could technically accomplish this function with an alias as well:
alias lazygit="git add . && git commit -m '$1' && git push origin master”
It is up to you which method to use, but I find the function method to be more readable.
Now go ahead and save your bash profile, and open up a new terminal to test your functions.
Congratulations! You have just created your own custom bash commands!
Have fun diving deep into the world of shell scripting. There is a lot more you can accomplish, including using loops, and conditions to create versatile new functions. Below is the first custom function I created, and the one that led me down the path of writing this very article!
# git clone, cd into project, and open in atom
function boom {
    reponame=${1##*/}
    reponame=${reponame%.git}
    git clone "$1" "$reponame"
    cd "$reponame"
    bundle install
    atom .
}
Note:
This guide is written primarily for MacOS users. It should work for any UNIX based operating system (such as Linux), but if you are experiencing any issues I suggest looking into whether your computer uses a login or non-login shell2. If non-login, replacing .bash_profile with .bashrc (run control) in the above instructions should work.
References
- How to create your own custom terminal commands
- What is a bash script?
- What is the difference between .bash_profile and .bashrc?
- ASCII Art Generator